⚡ 🛋️ Wireless Charging Sofa
Fed up of the wires and hassle of plugging and unplugging your phone as you move around the house? So were we!
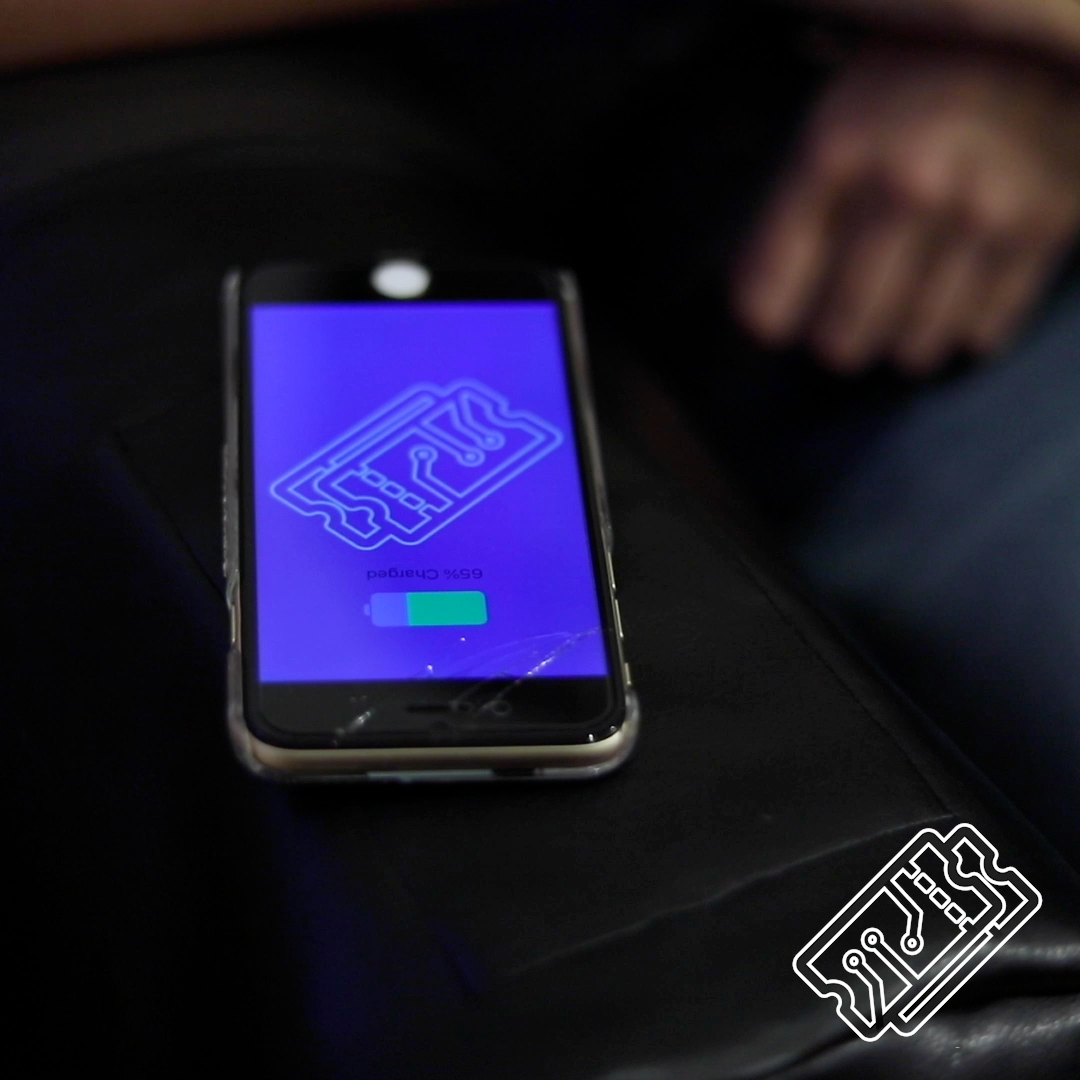
We’ve made a wireless charging cover which fits snugly on your sofa arm and blends in seamlessly. This simple make is a great way to upgrade your sofa and is a step on the path to eternal laziness: charging your phone is as simple as putting it down.
Supplies
Faux Leather (Fire retardant) Amazon
Wireless Charge Receiver Amazon
Wireless Charging Module Amazon
Micro-USB Wire Amazon
2A USB Plug Amazon
Sewing Machine Amazon
🔗 Get The Wireless Charging Sofa Files On Github 📔
Tutorial 🤖
Measure Up
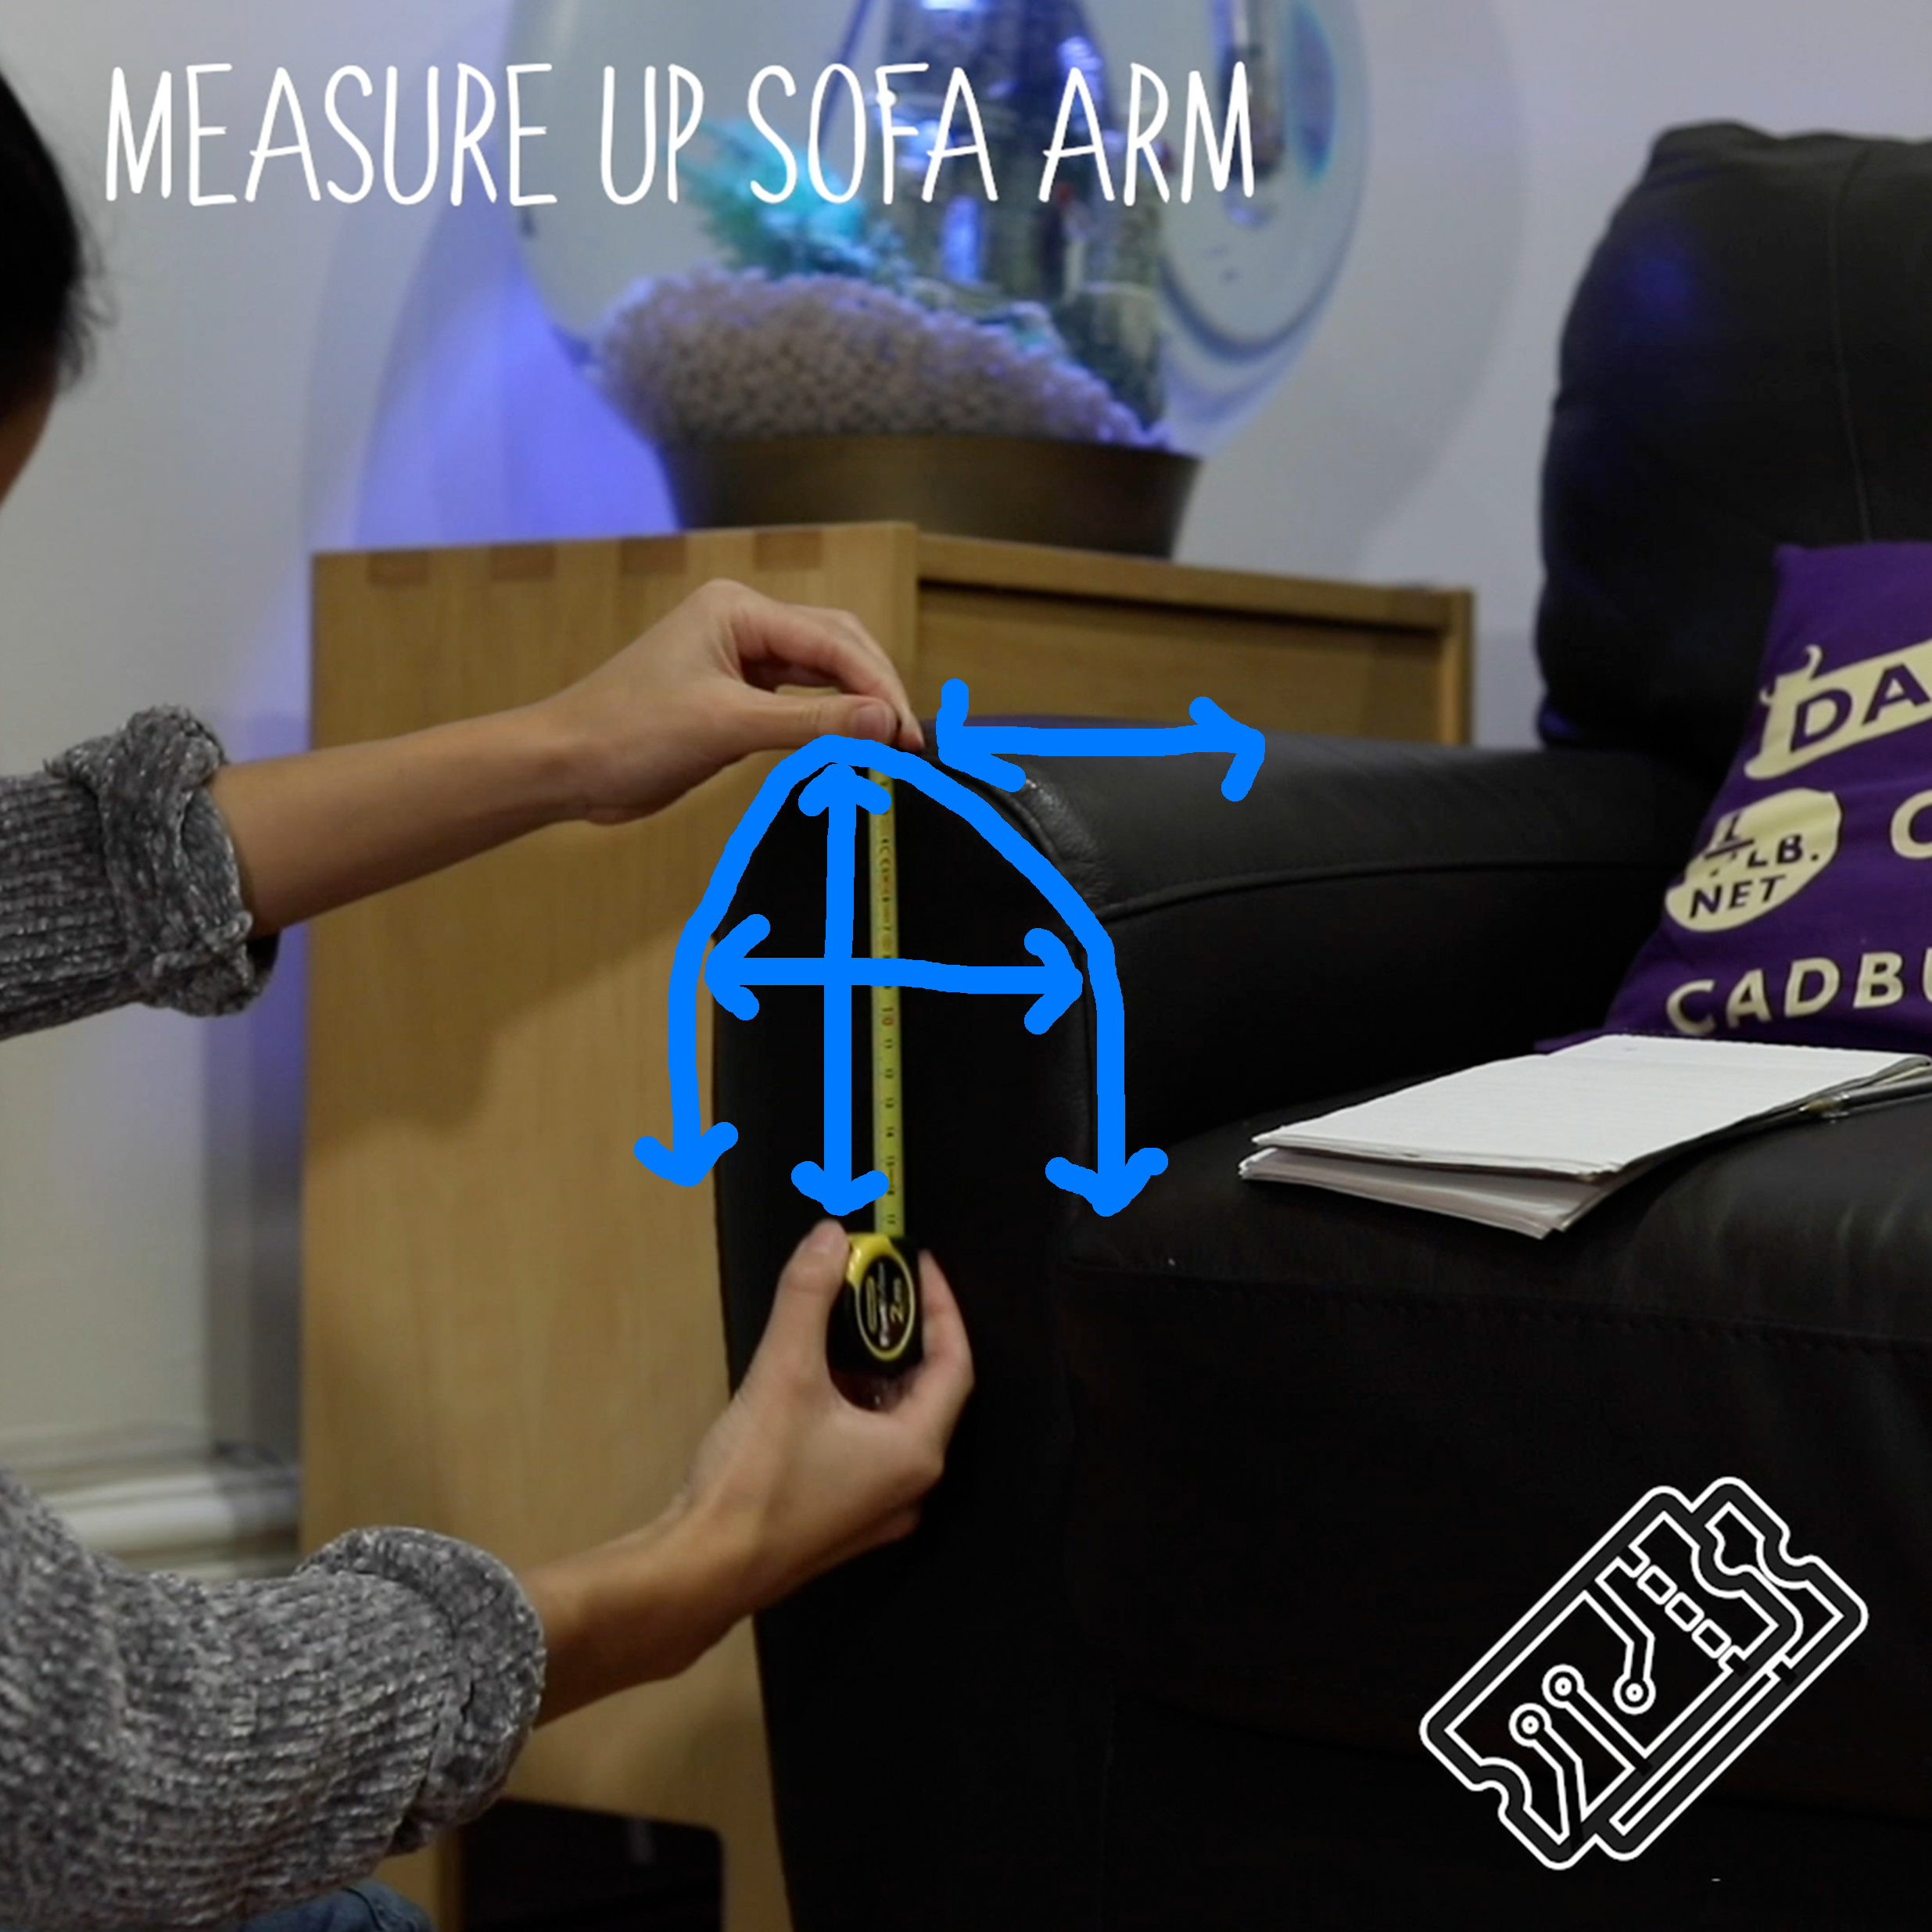
Measure the arm of your sofa. You will make the cover in two pieces: one which covers the front of the arm and another piece which wraps around the top of the arm. First, measure the front piece by measuring the width of the arm (at its widest point on curved arms) and how far down the arm you want the cover to go — when doing this, bear in mind you probably want it to sit between the cushion and the arm.
Once you have established how far down the arm you want the cover, measure the second piece which will go across the arm. Measure how deep you want the cover to be.
Measure Wireless Charger Pocket
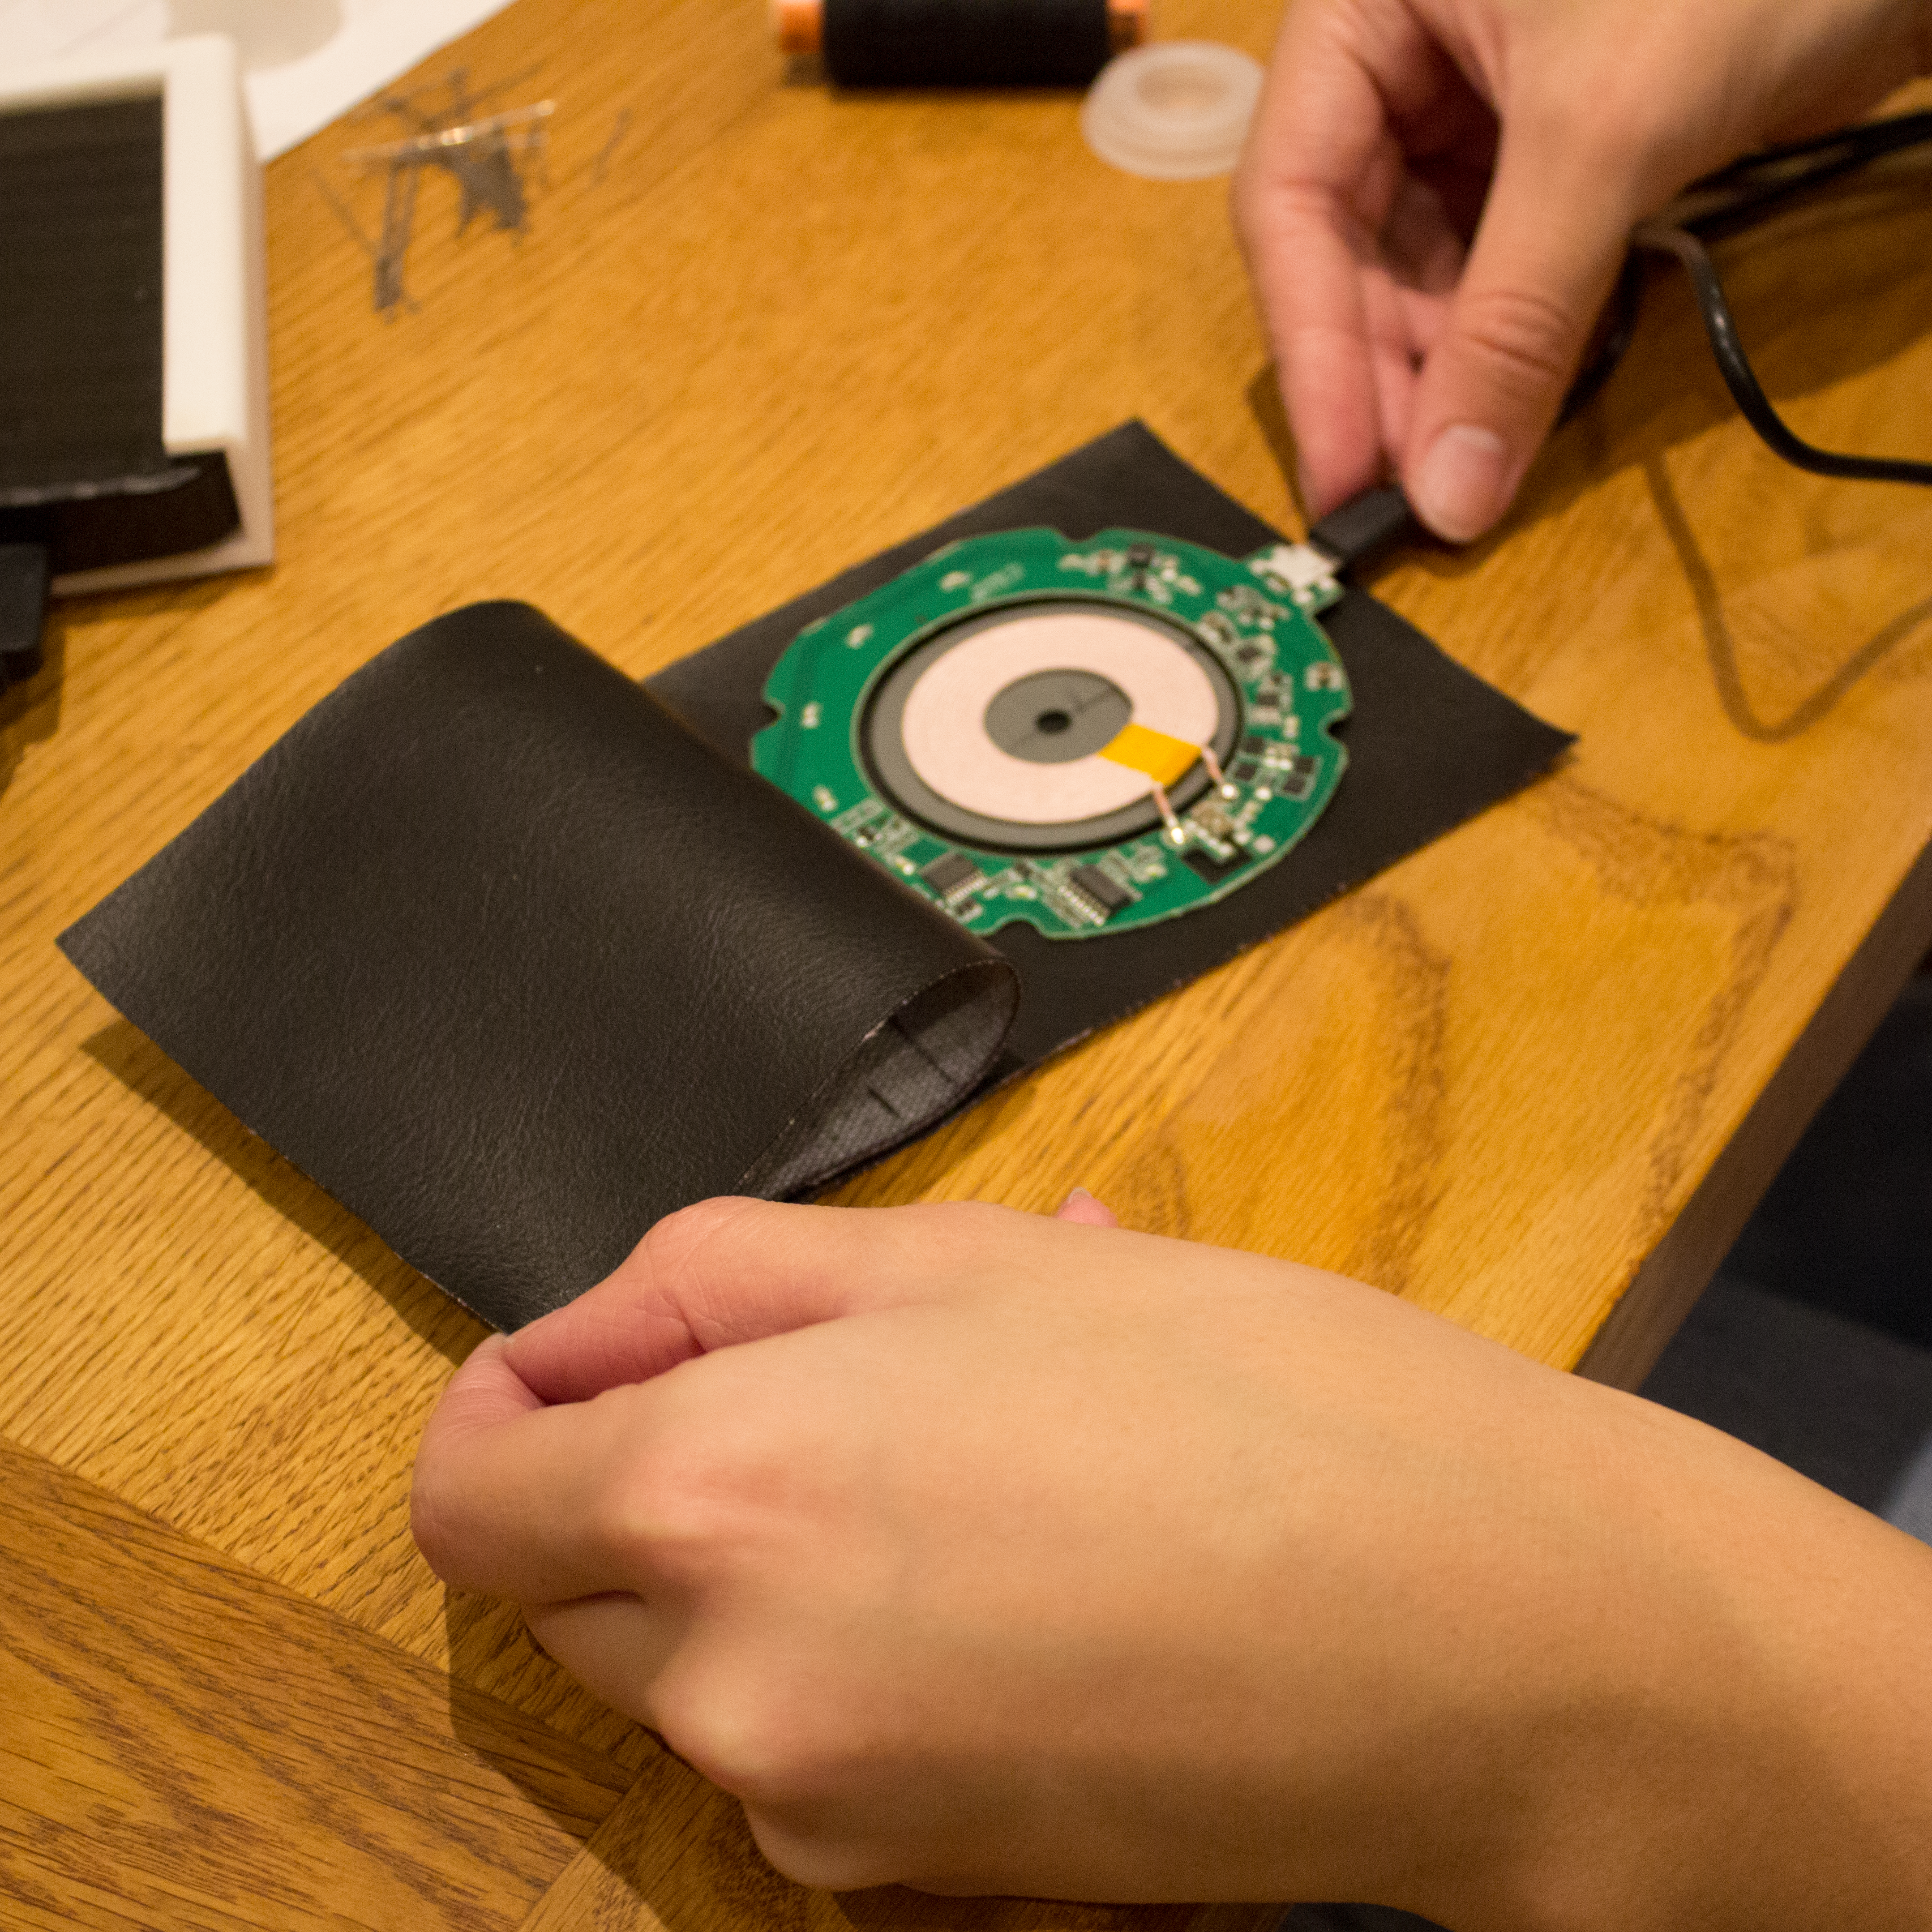
The wireless charging module will be housed within a pocket inside cover to stop it moving around. We made ours 15.0cm by 9.5cm — based on the size of our wireless charger.
Draw Out Measurements
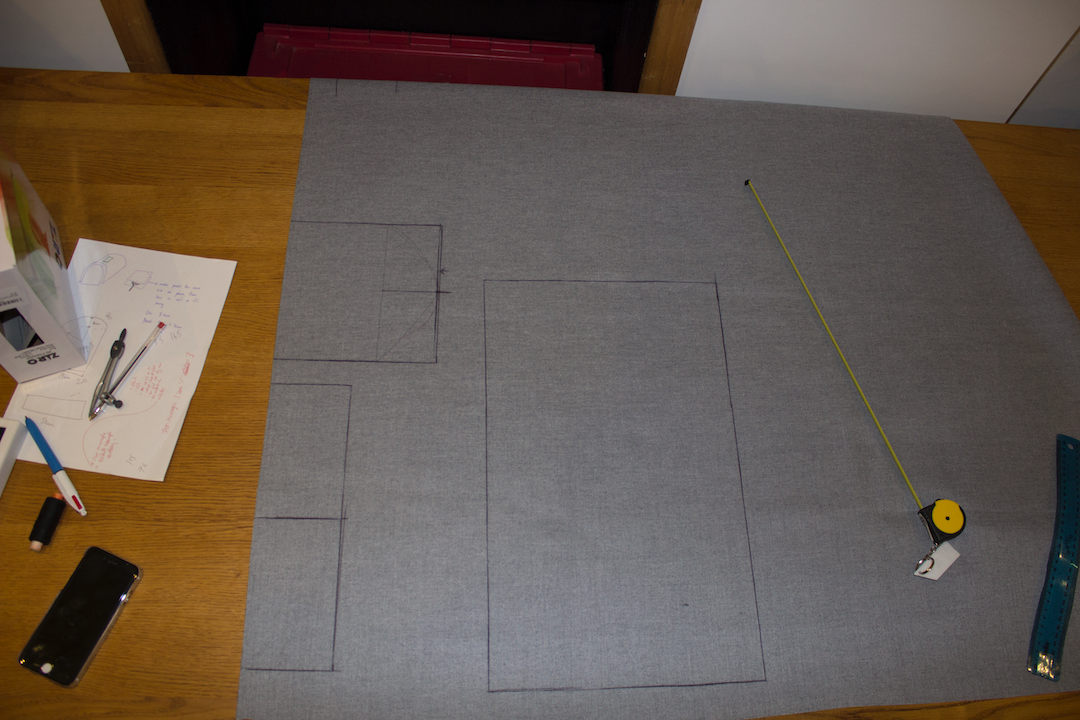
Add approximately 1/2cm to your measurements (for stitching) and draw the rectangles on the back of your material — there should be 4 in total. Cut them out.
Sew the Pocket
Make the pocket for the wireless charging module. To do so, take the two small rectangles and place them on top of each other so the front of the material is facing inwards on both pieces.
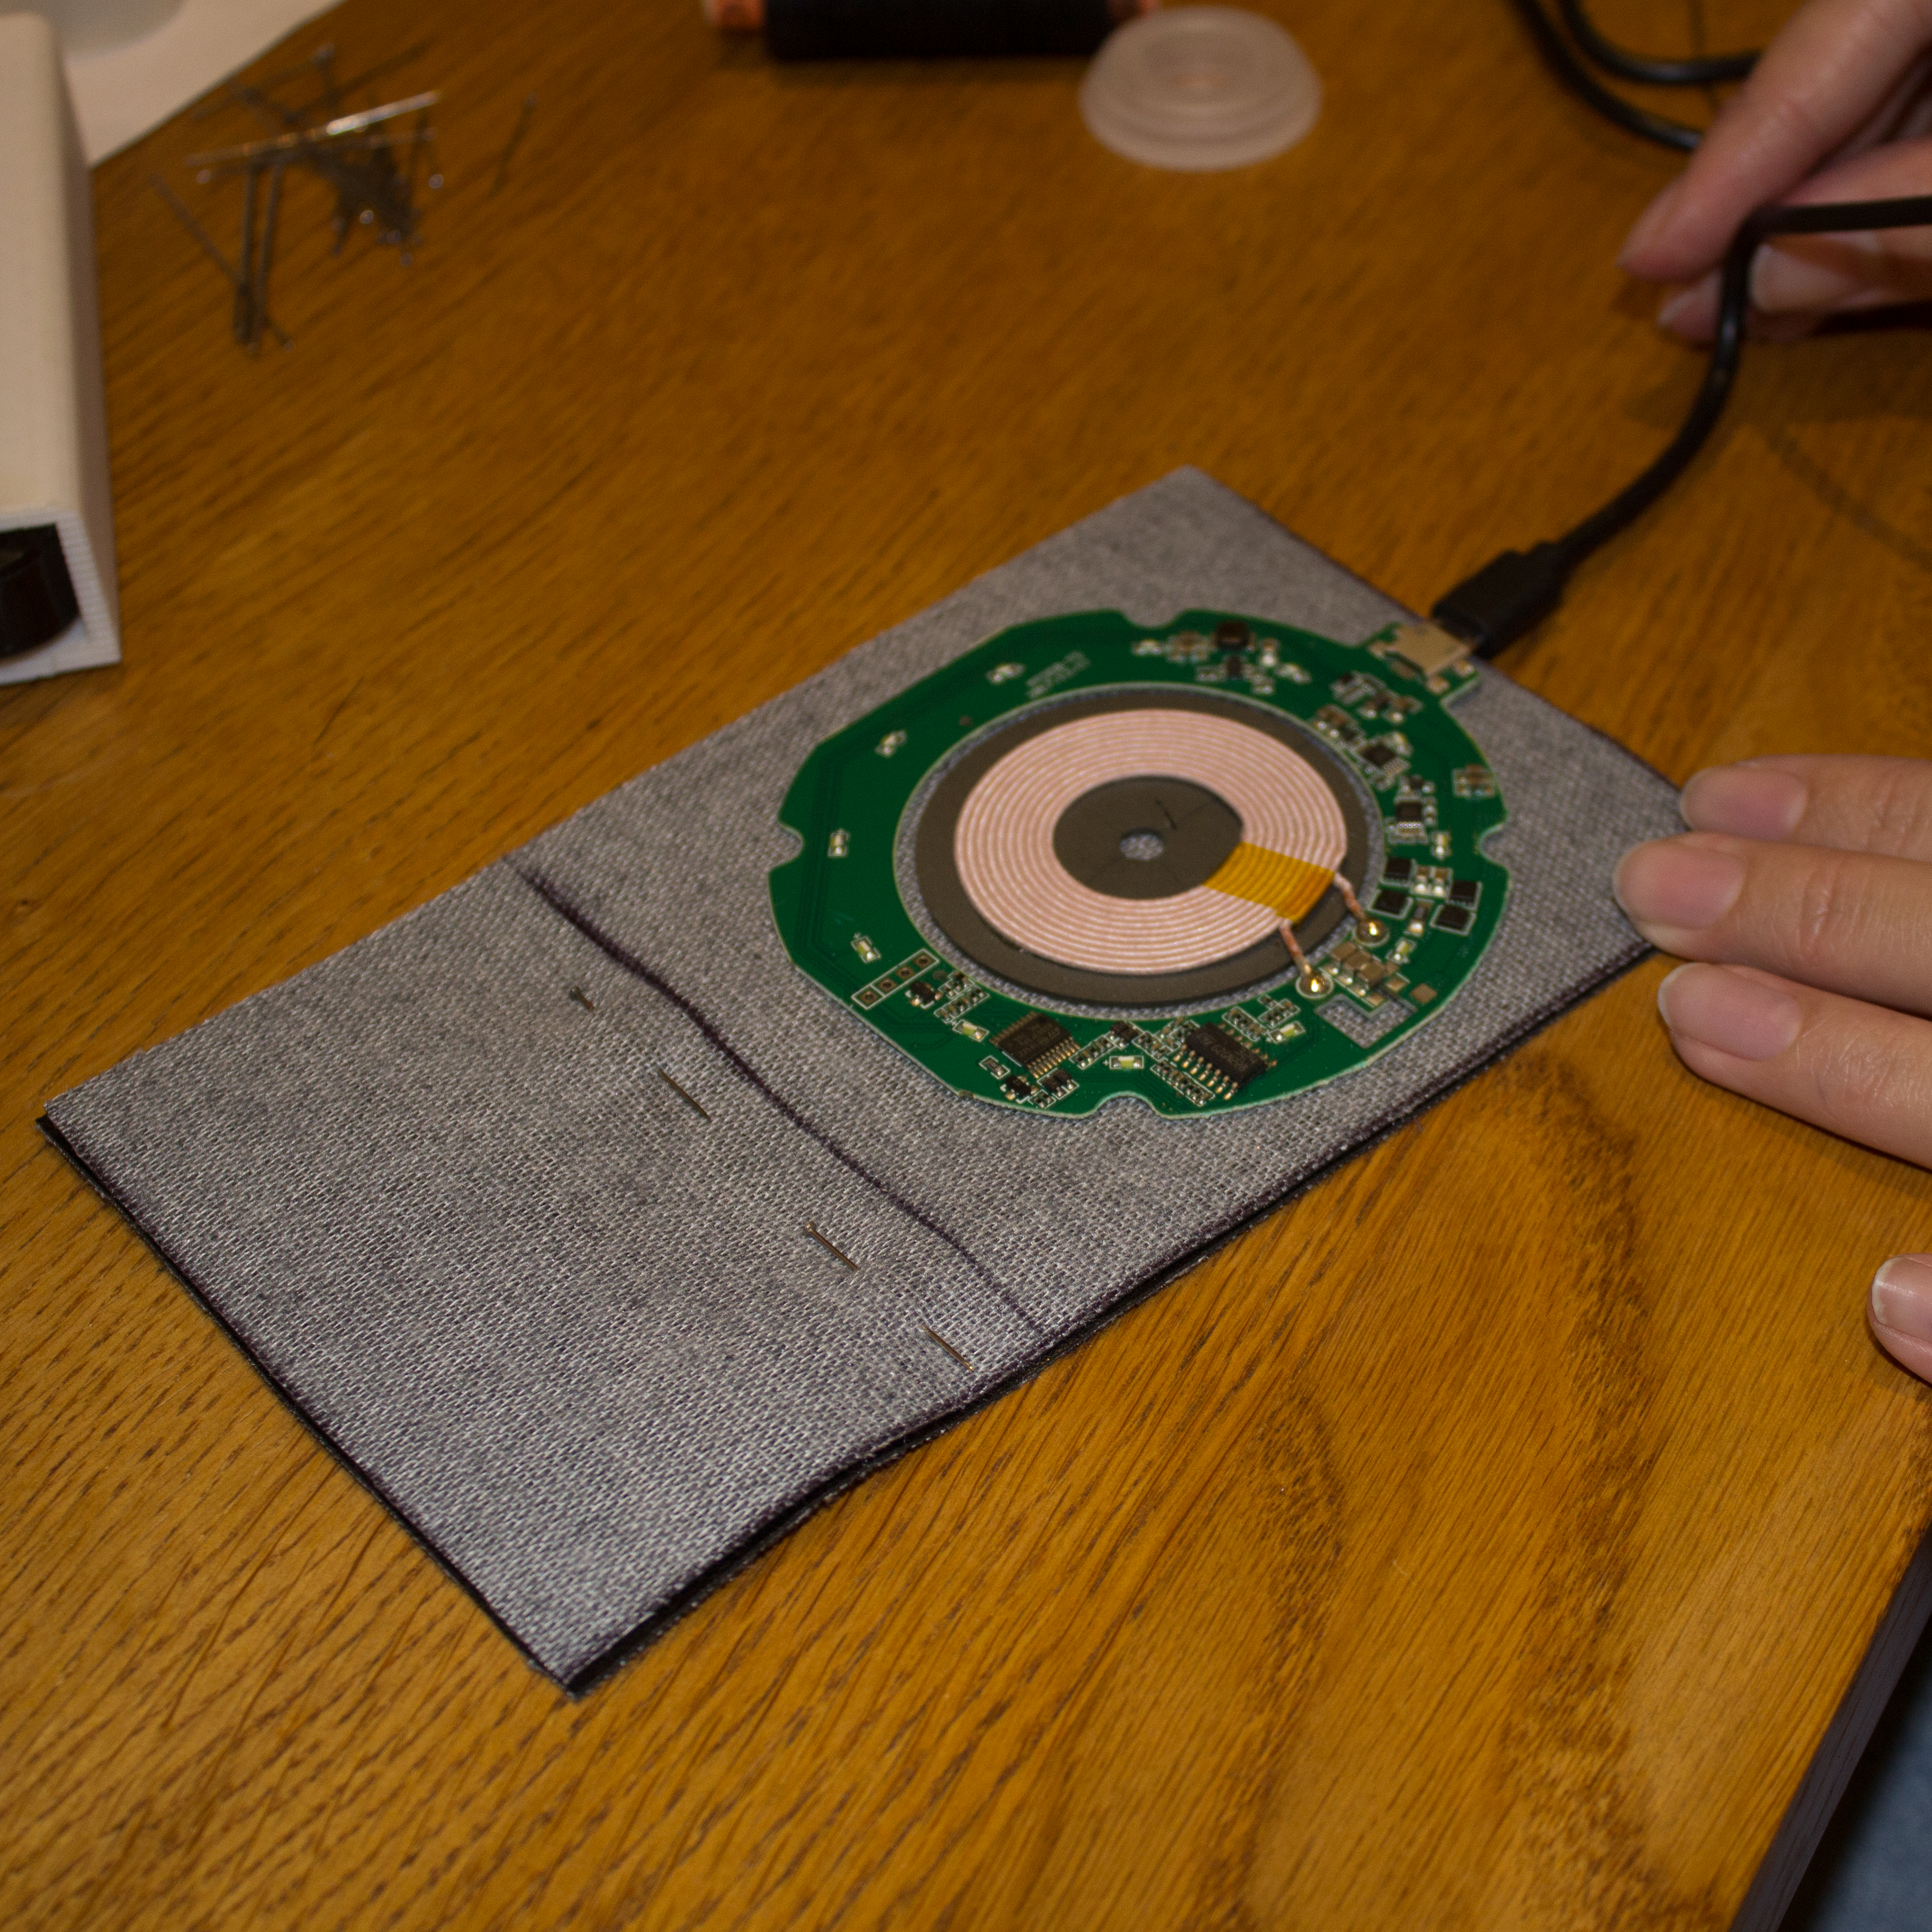
Place the wireless charger between the two pieces and draw a line across the fabric where it ends. Sew along this line to the two pieces of fabric are joined in the middle.
Pin the Cover
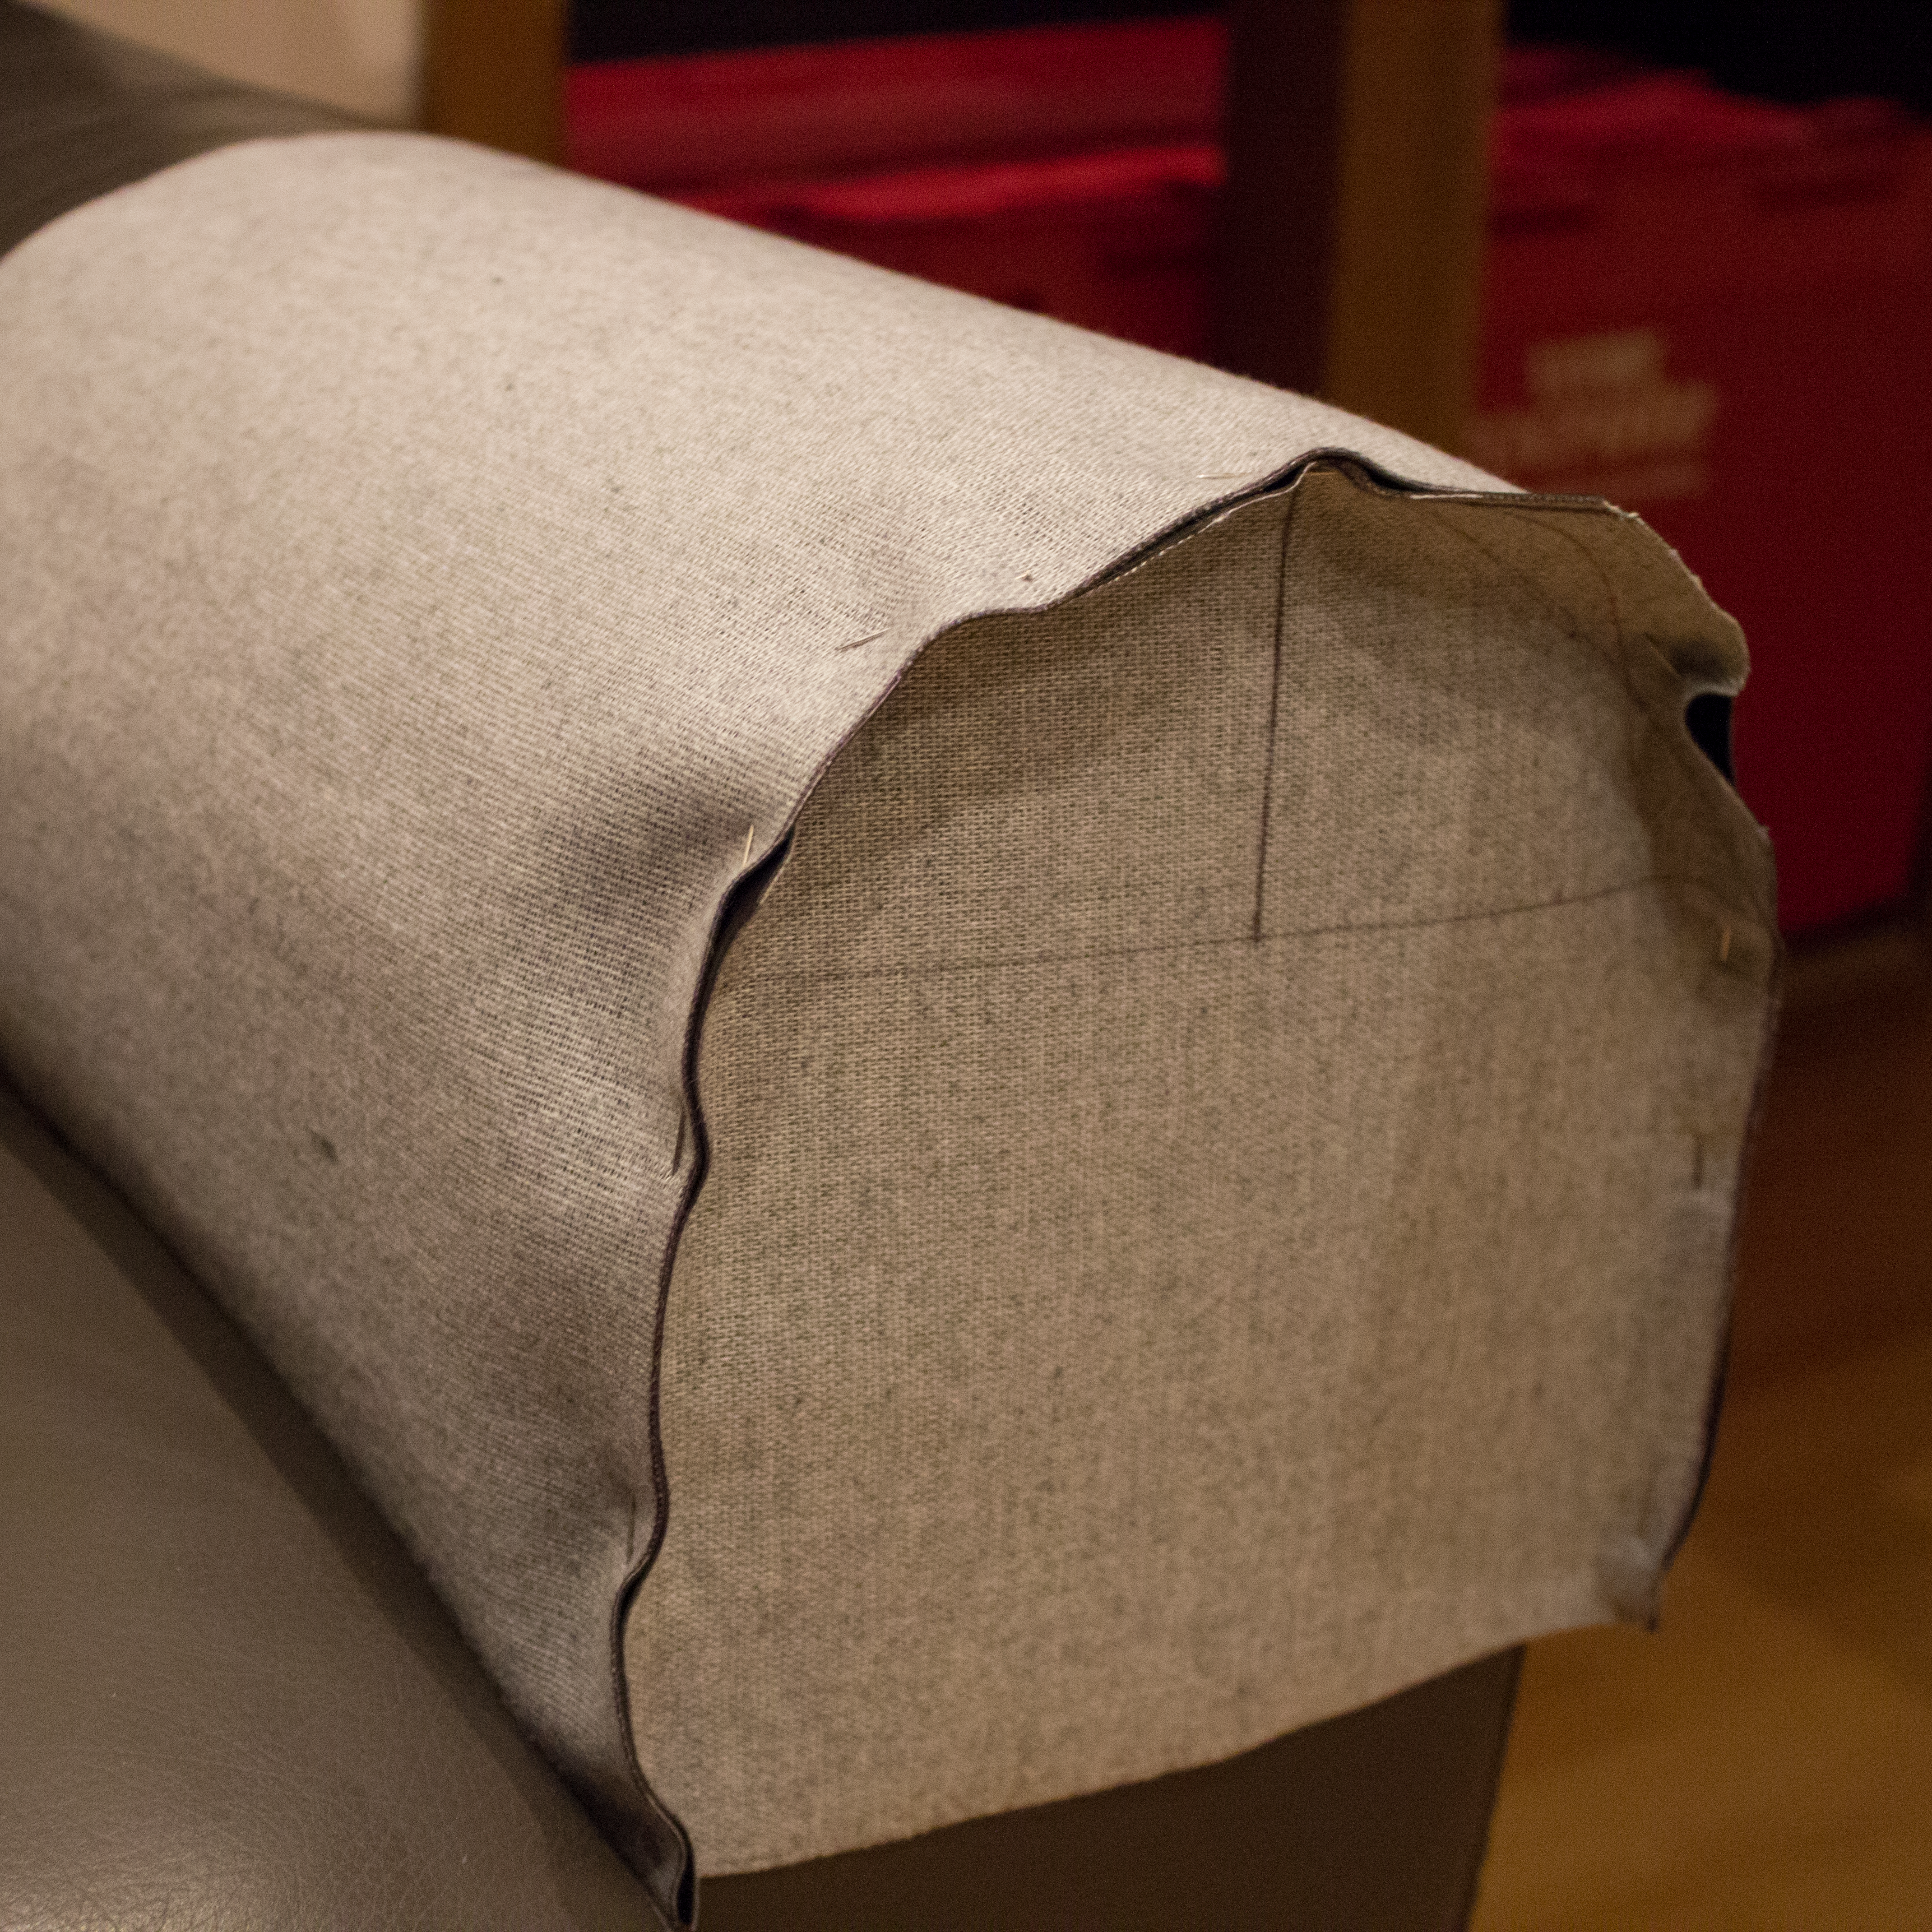
Pin the arm cover ready for sewing. With the material face down, lay the rectangle across the top of the arm. Pin the front rectangle onto it, leaving at least 0.5cm seams.
If you have a sofa with a rounded arm, you will need to gather more material where the arm curves to achieve the right shape.
Sew the Cover
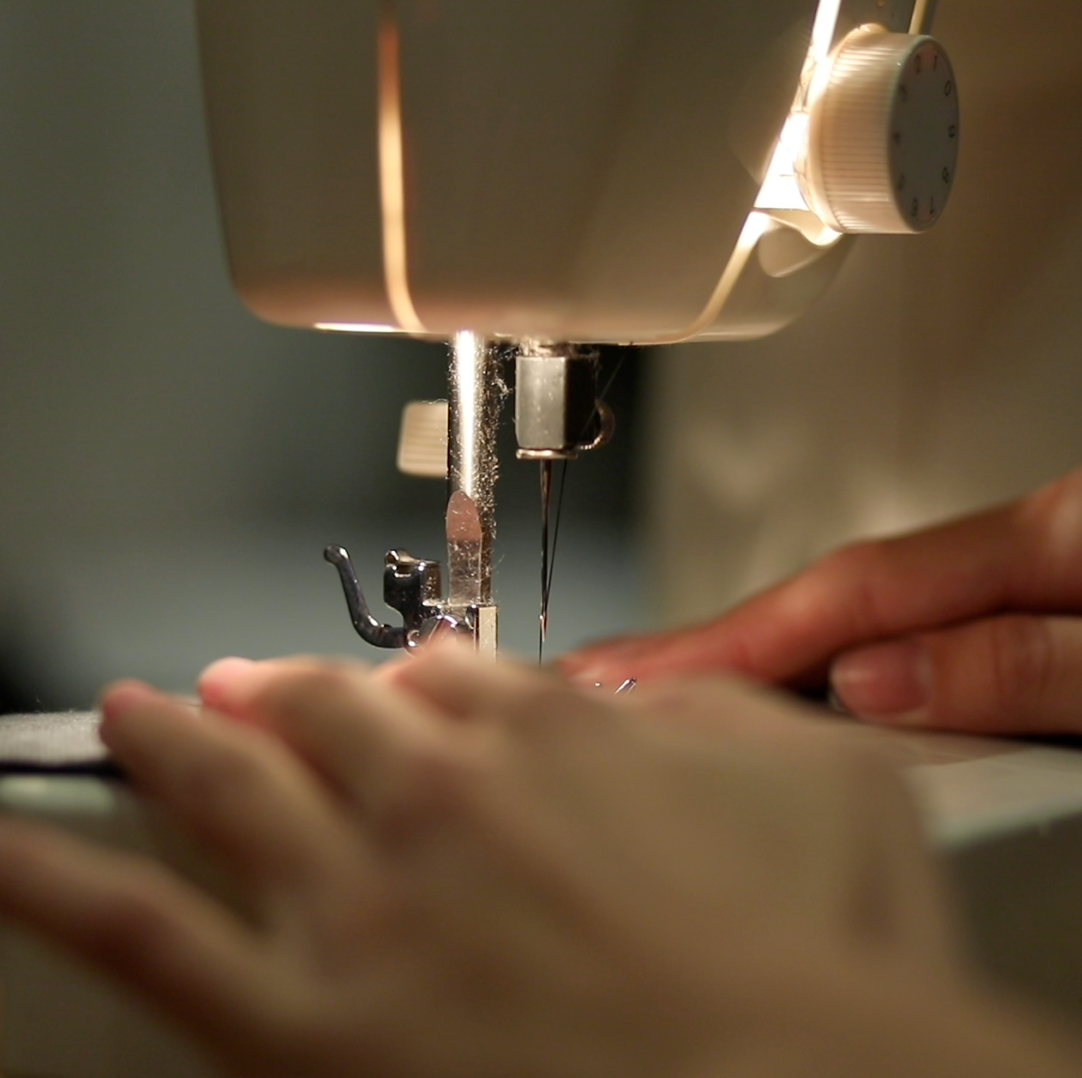
Sew the cover together while it is still inside out, removing the pins as you go. If you need guidance on how to hand stitch, or how to thread and use a sewing machine, check out these tutorials (1, 2) from the wonderful world of YouTube!
Test on Arm
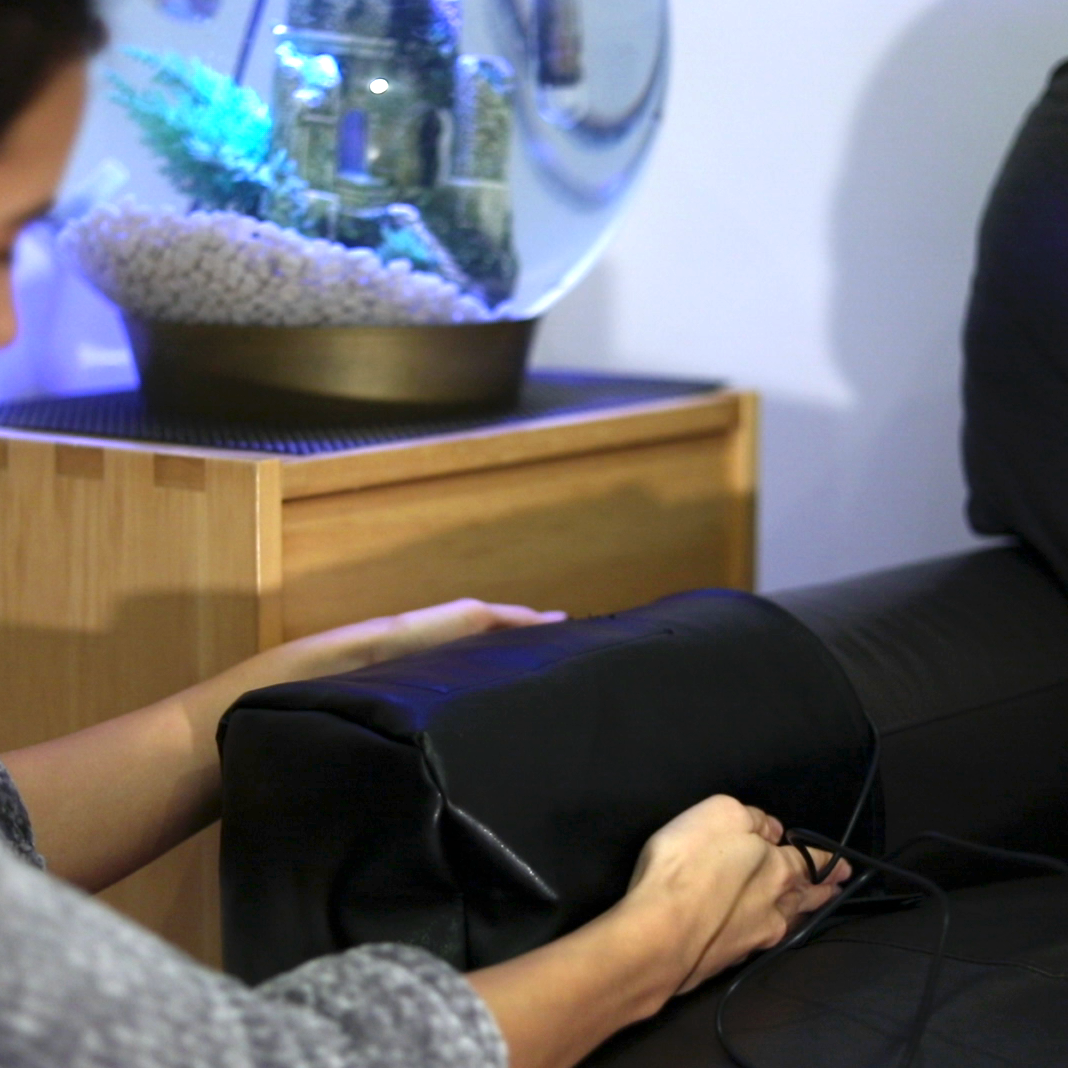
Once you’ve finished sewing the cover, turn it inside out and check you’re happy with how it fits on your sofa arm.
Hem the Edges
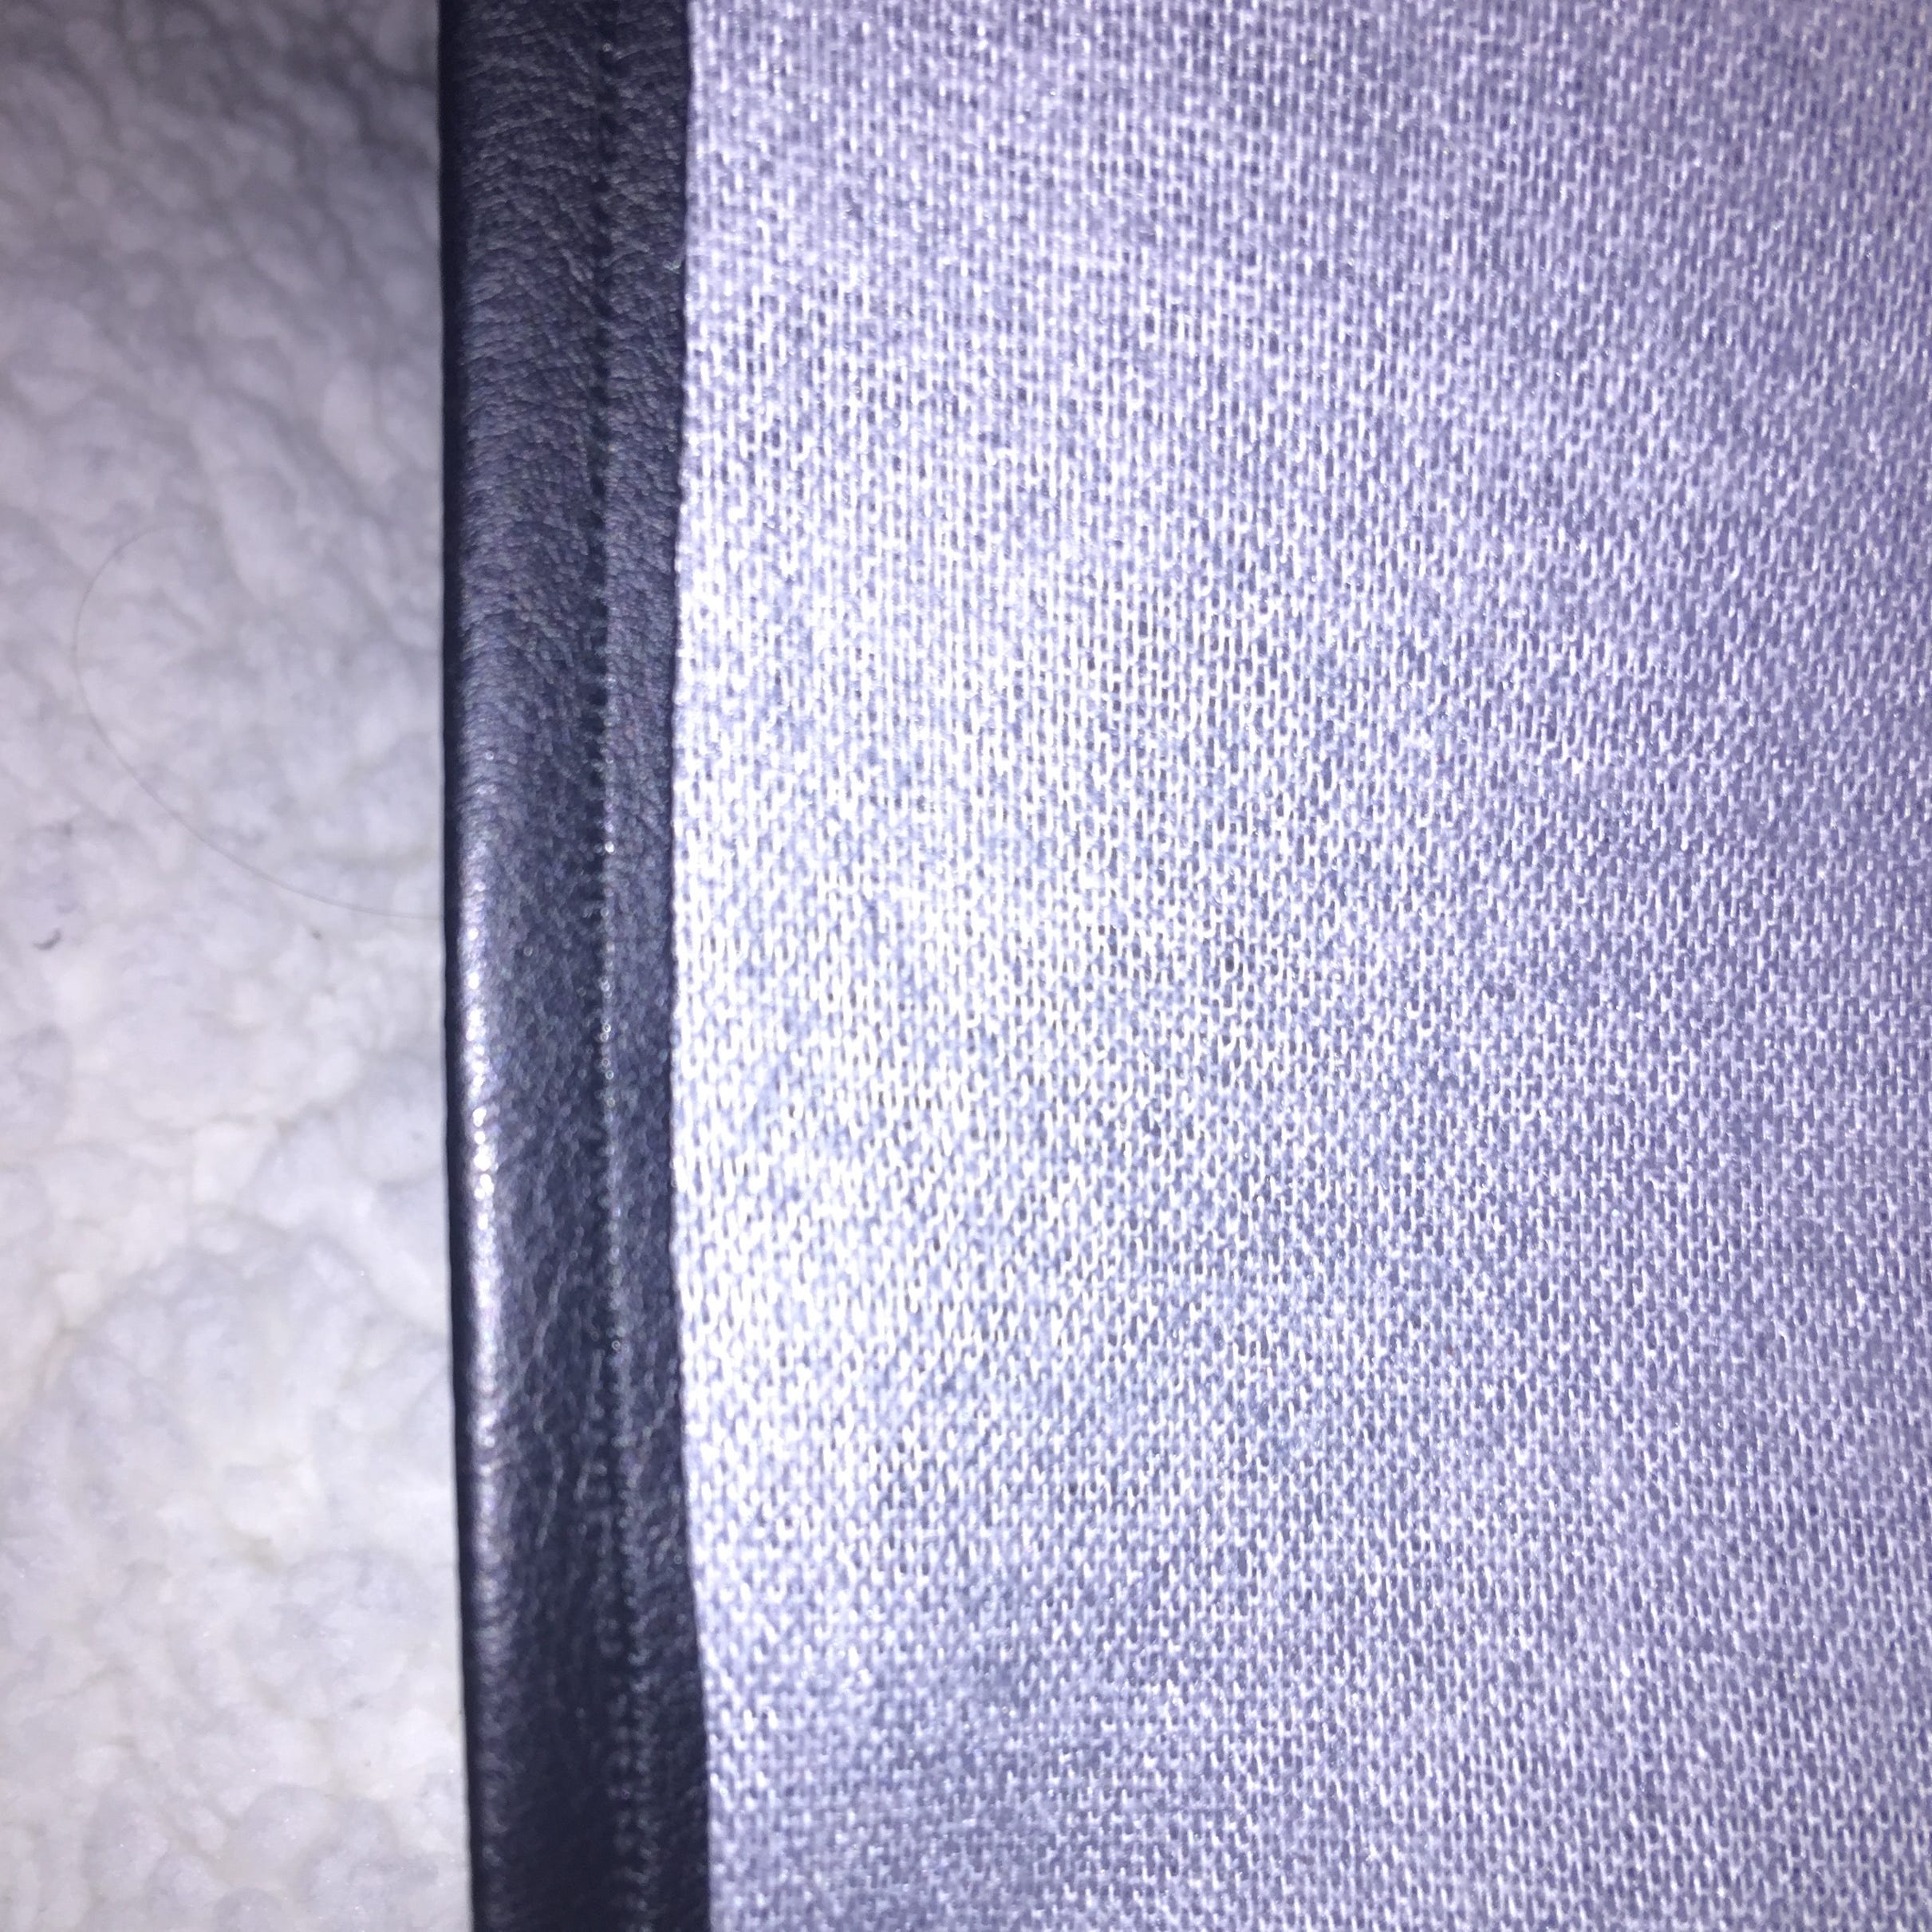
Hem the edges of the cover by folding approximately 1/2cm of each edge backwards and pinning in place. Sew neatly to create a hemline which will give the cover a clean finish.
Pin the Pocket on the Cover
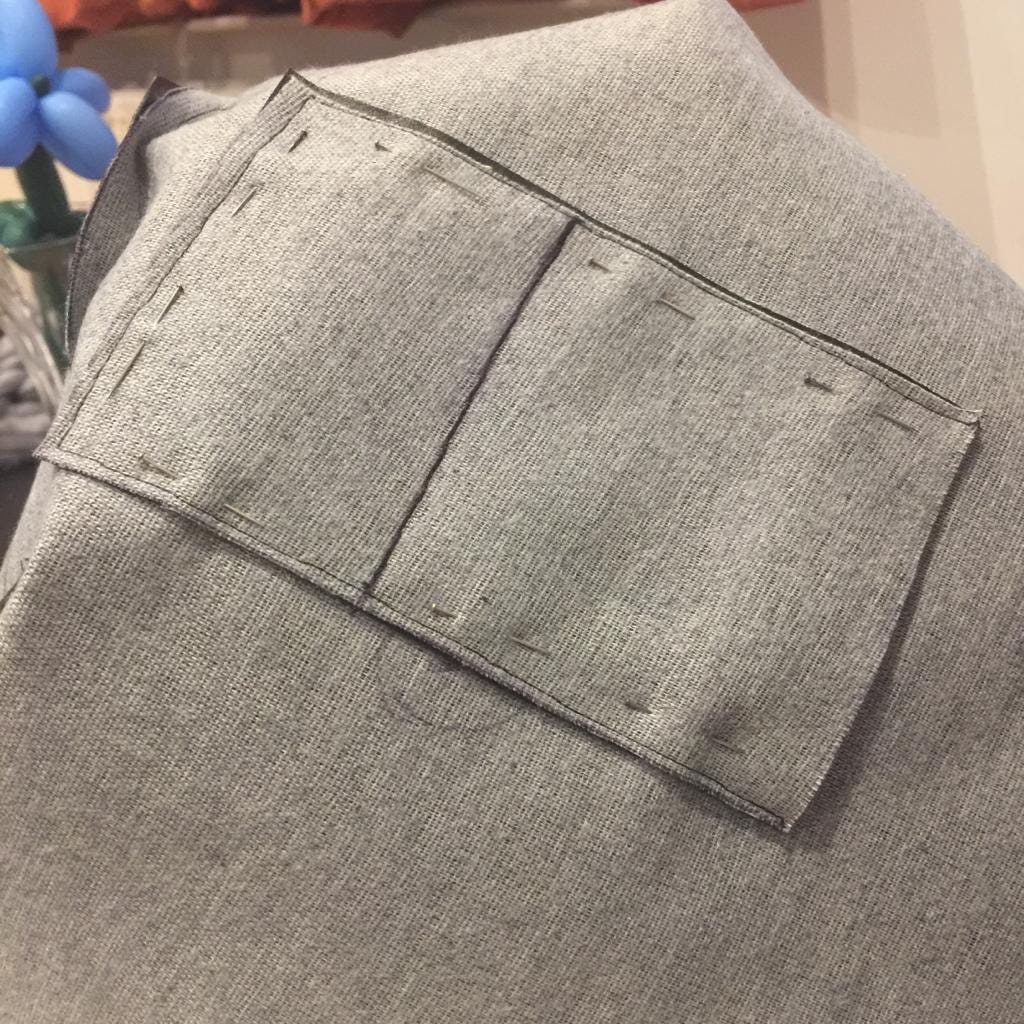
Place the cover on the sofa arm and put the rectangles you sewed earlier to house the wireless charging module beneath it with the half which fits the wireless charging module facing towards the back of the sofa. The pocket should sit in the middle of the arm in a place you can balance your phone. When you’re happy with the location, pin in place.
Sew in the Pocket
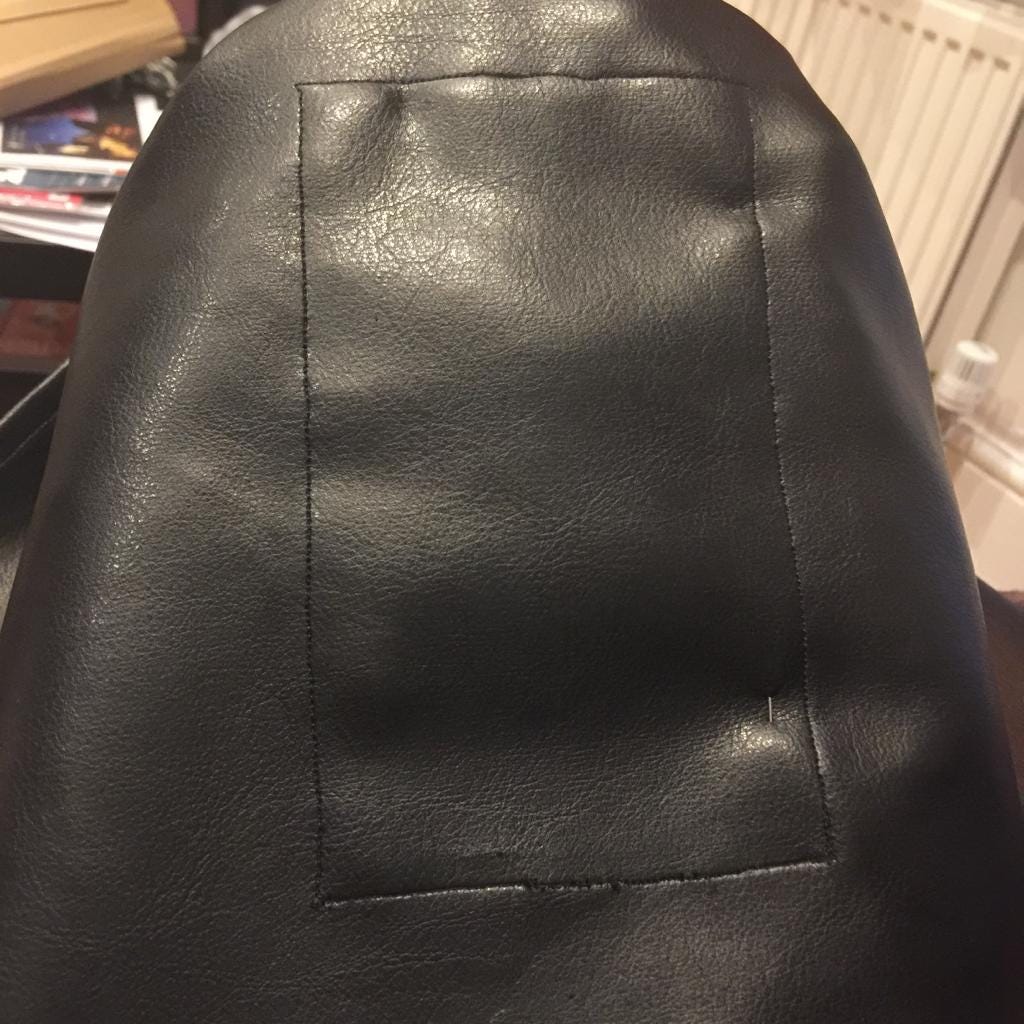
Sew the pocket along the front and two side edges. When sewing along the rear edge, only sew the top layer of the pocket onto the cover. This is so that the wireless charging module can be added or removed but also so that the rectangle shape on the top of the cover, which shows where you put your phone for it to charge properly, is a complete shape.
Plug in Wireless Charger
Put the wireless charger inside the pocket and plug it in.
Enjoy!
Put the cover your sofa arm you’re ready to go!
Thanks for Reading
I hope you have enjoyed this article. If you like the style, check out T3chFlicks.org for more tech focused educational content (YouTube, Instagram, Facebook, Twitter).